
Congratulations on starting your Bioacoustic journey!
This guide will provide an overview of how to set up your recorders on site. Please note we have several different versions of our recording device, which may look different to the version shown in the video below. However, the guidance on setting up are applicable to all survey types.
Our instructions include the following steps to set up your survey. The survey setup process has the following simple steps:

1. Unbox
Unbox your recorder(s) and straps, and assemble ahead of deployment.
2. Find a Suitable Location
Plan in advance, or find a suitable location(s) on your site for monitoring.

3. Fix Recorder & Turn on
Strap the recorder to a suitable fixing point, and remember to turn the device on!

4. Save Location
Save the location of the recording units, along with their Device ID

5. Cup of tea
The recorder(s) do not need any further checks throughout the survey period. Time to relax!
1. Shipping and Unboxing
We will ship the recording device several days in advance of your chosen survey period. Within your package, you will find the following:
- Recording device(s)
- Velcro strap(s)
- Instructions
IMPORTANT – you must keep the original box / return envelope in a safe place as you will need it to return the device. If you have ordered a single device, we will include return packaging within the postage box. For multiple devices, we will arrange courier collection of the package.
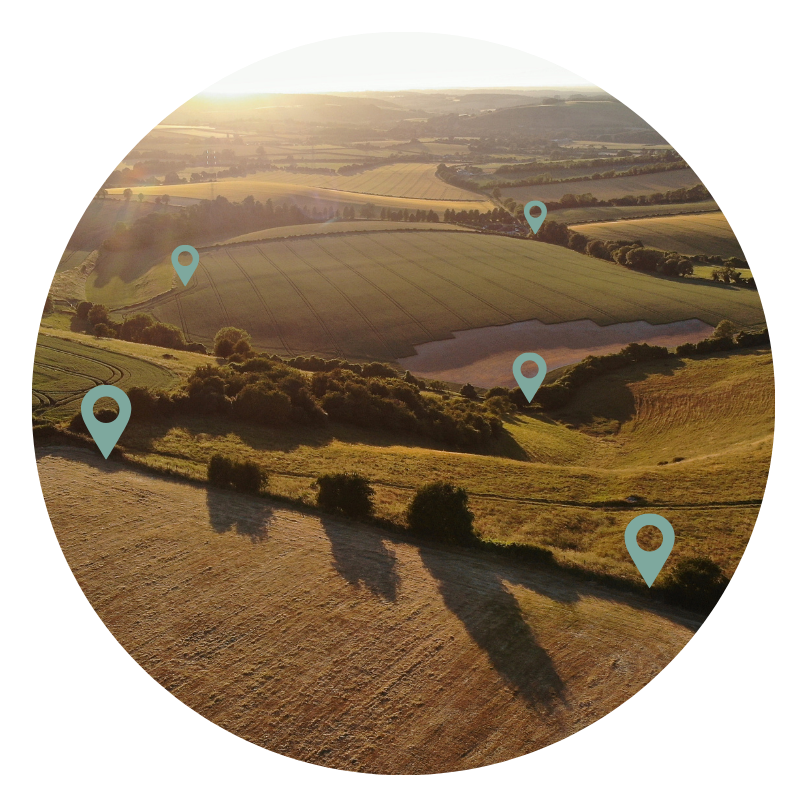
2. Find a Suitable Location
It is vital to choose an appropriate location, so that audio quality is high for successful species identification. There are several factors that can restrict audio quality, and for more details, we have created a dedicated guide:
- Close Proximity to Habitat: In or near chosen habitat
- Avoid Background Noise: Away from sources of noise such as running water or a road
- Avoid Public pathways: Avoid human interference by placing devices away from footpaths and other public areas
- Suitable Height: Secure the recording device safely 1-2m off the ground. For some species, you may wish to attach at a different height (e.g. bat monitoring). If fixing at greater heights, please take necessary precautions and use safe equipment.
- Suitable Fixing Point: You will need to have a suitable fixing point to attach the recording unit, which is commonly a post or tree. This fixing points need to be accessible, and be a suitable width to attach the device (8cm – 12cm wide).
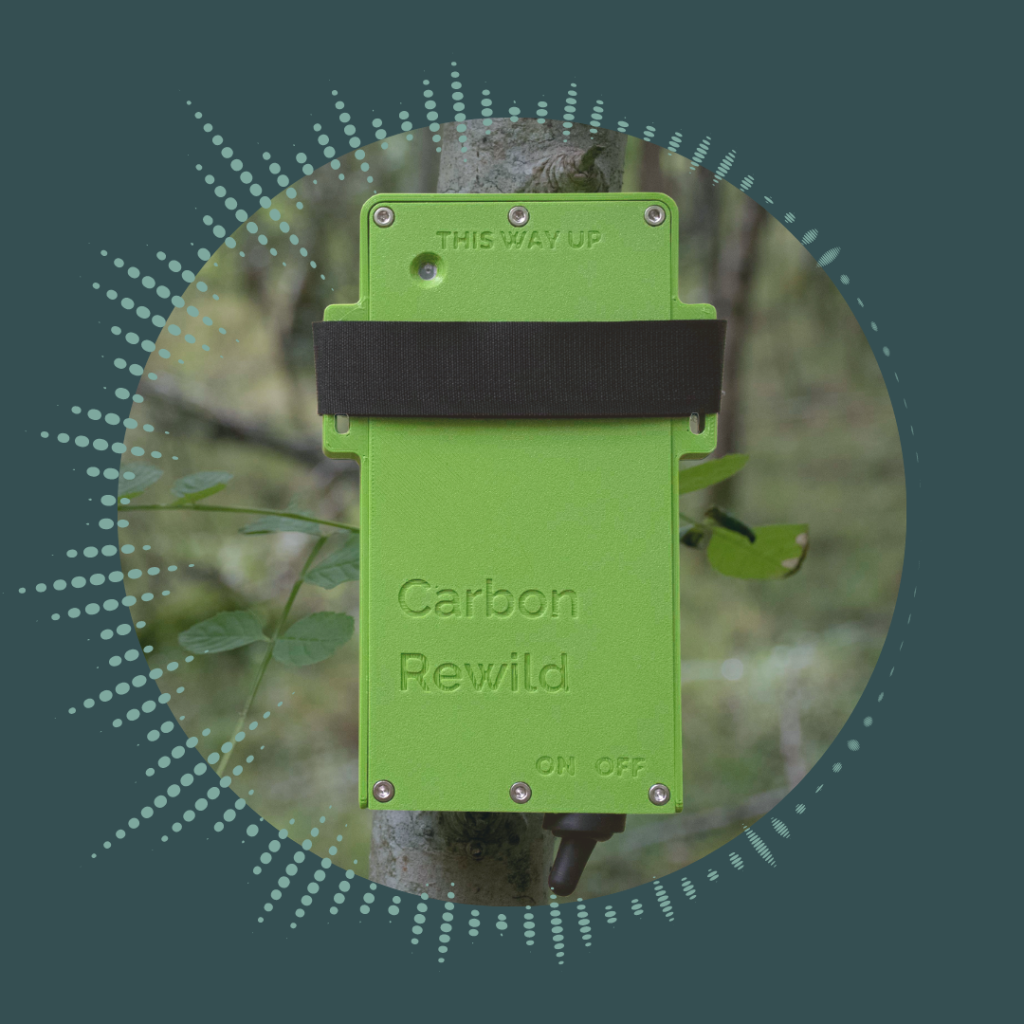
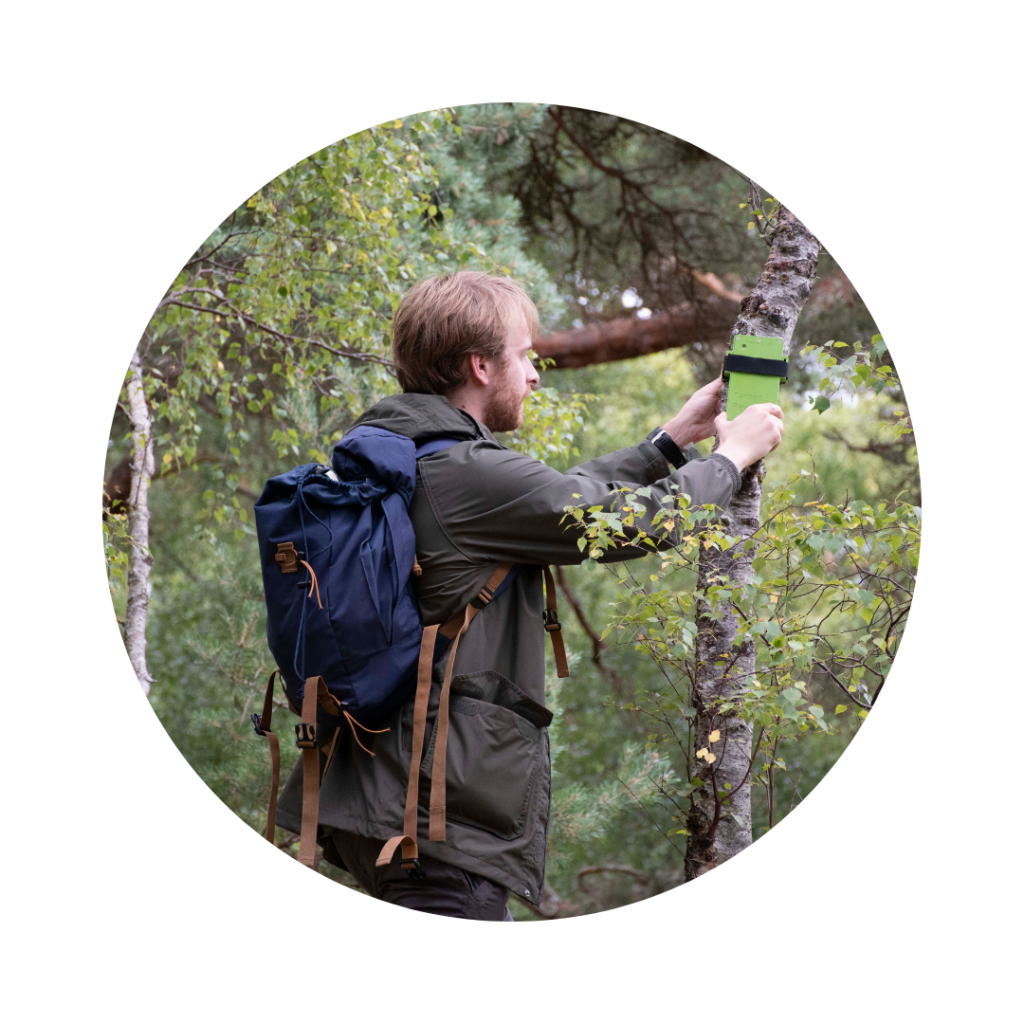
3. Secure Recorder and Turn On!
Thread the Velcro strap through the slots in the device, so that the recording device can be secured to an appropriate tree, or post. The post or tree should be approximately the same width as the recording unit, and should not be narrower than 6cm, or there is a risk the strap cannot be securely tightened for the monitoring period. Do not attach to a wide tree or post (wider than the recorder), as this will limit recording quality.
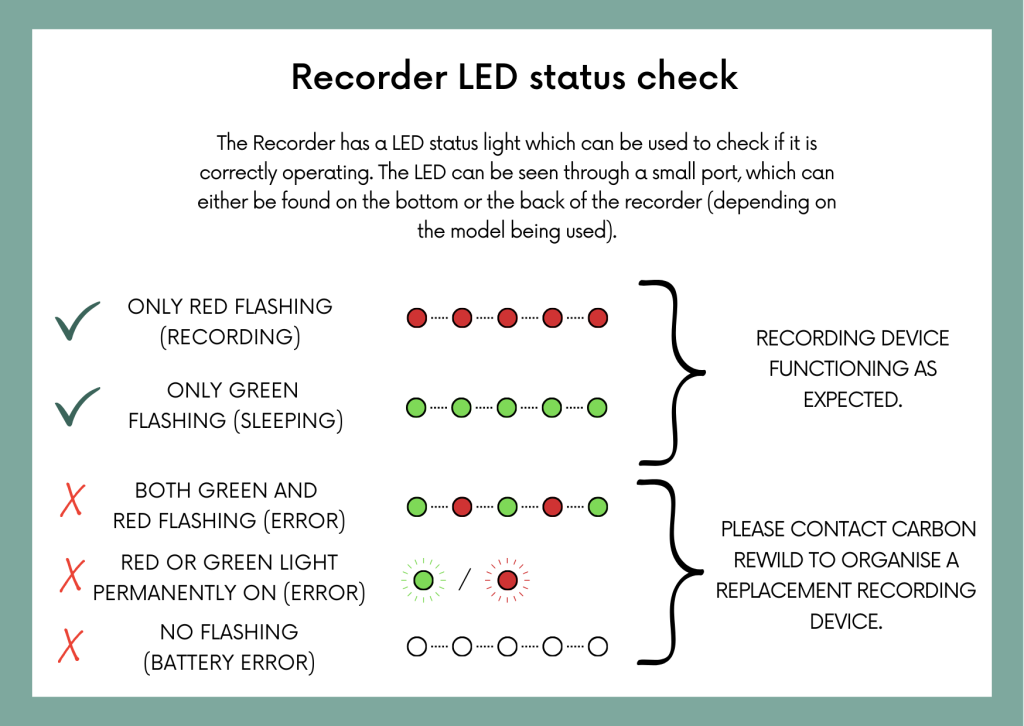
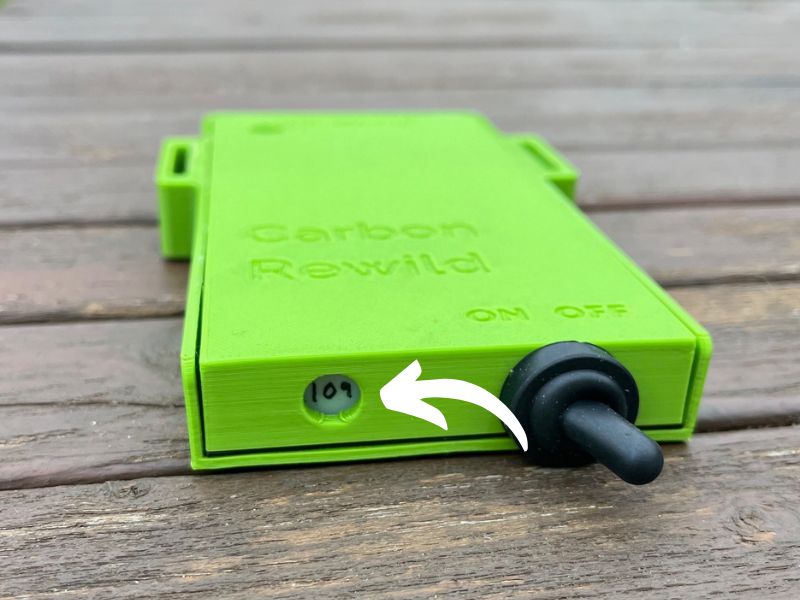
Then TURN ON THE DEVICE by flicking the switch into the ON position. Please see the LED light instructions below to check the recorder is working correctly.
4. Save the location
Once the recording unit is in place, make a record of its location, along with the Device ID of the recording unit. This is printed on the bottom of the unit:
We recommend one of the following options for capturing the location of the recording unit:
- What3Words
- Longitude and Latitude
Please store the Device ID and location of the recording units safely. We will request these locations for the analysis and reporting, and it will help you find and retrieve the units at the end of the survey.

5. Cup of tea
Or any hot or cold beverage really! The recorders will now be busy at work, monitoring throughout the day and night for nature’s symphony. During the survey period, you will also receive a form from a member of the team to submit recorder location data and survey site information to assist our analysis and help compile your report.